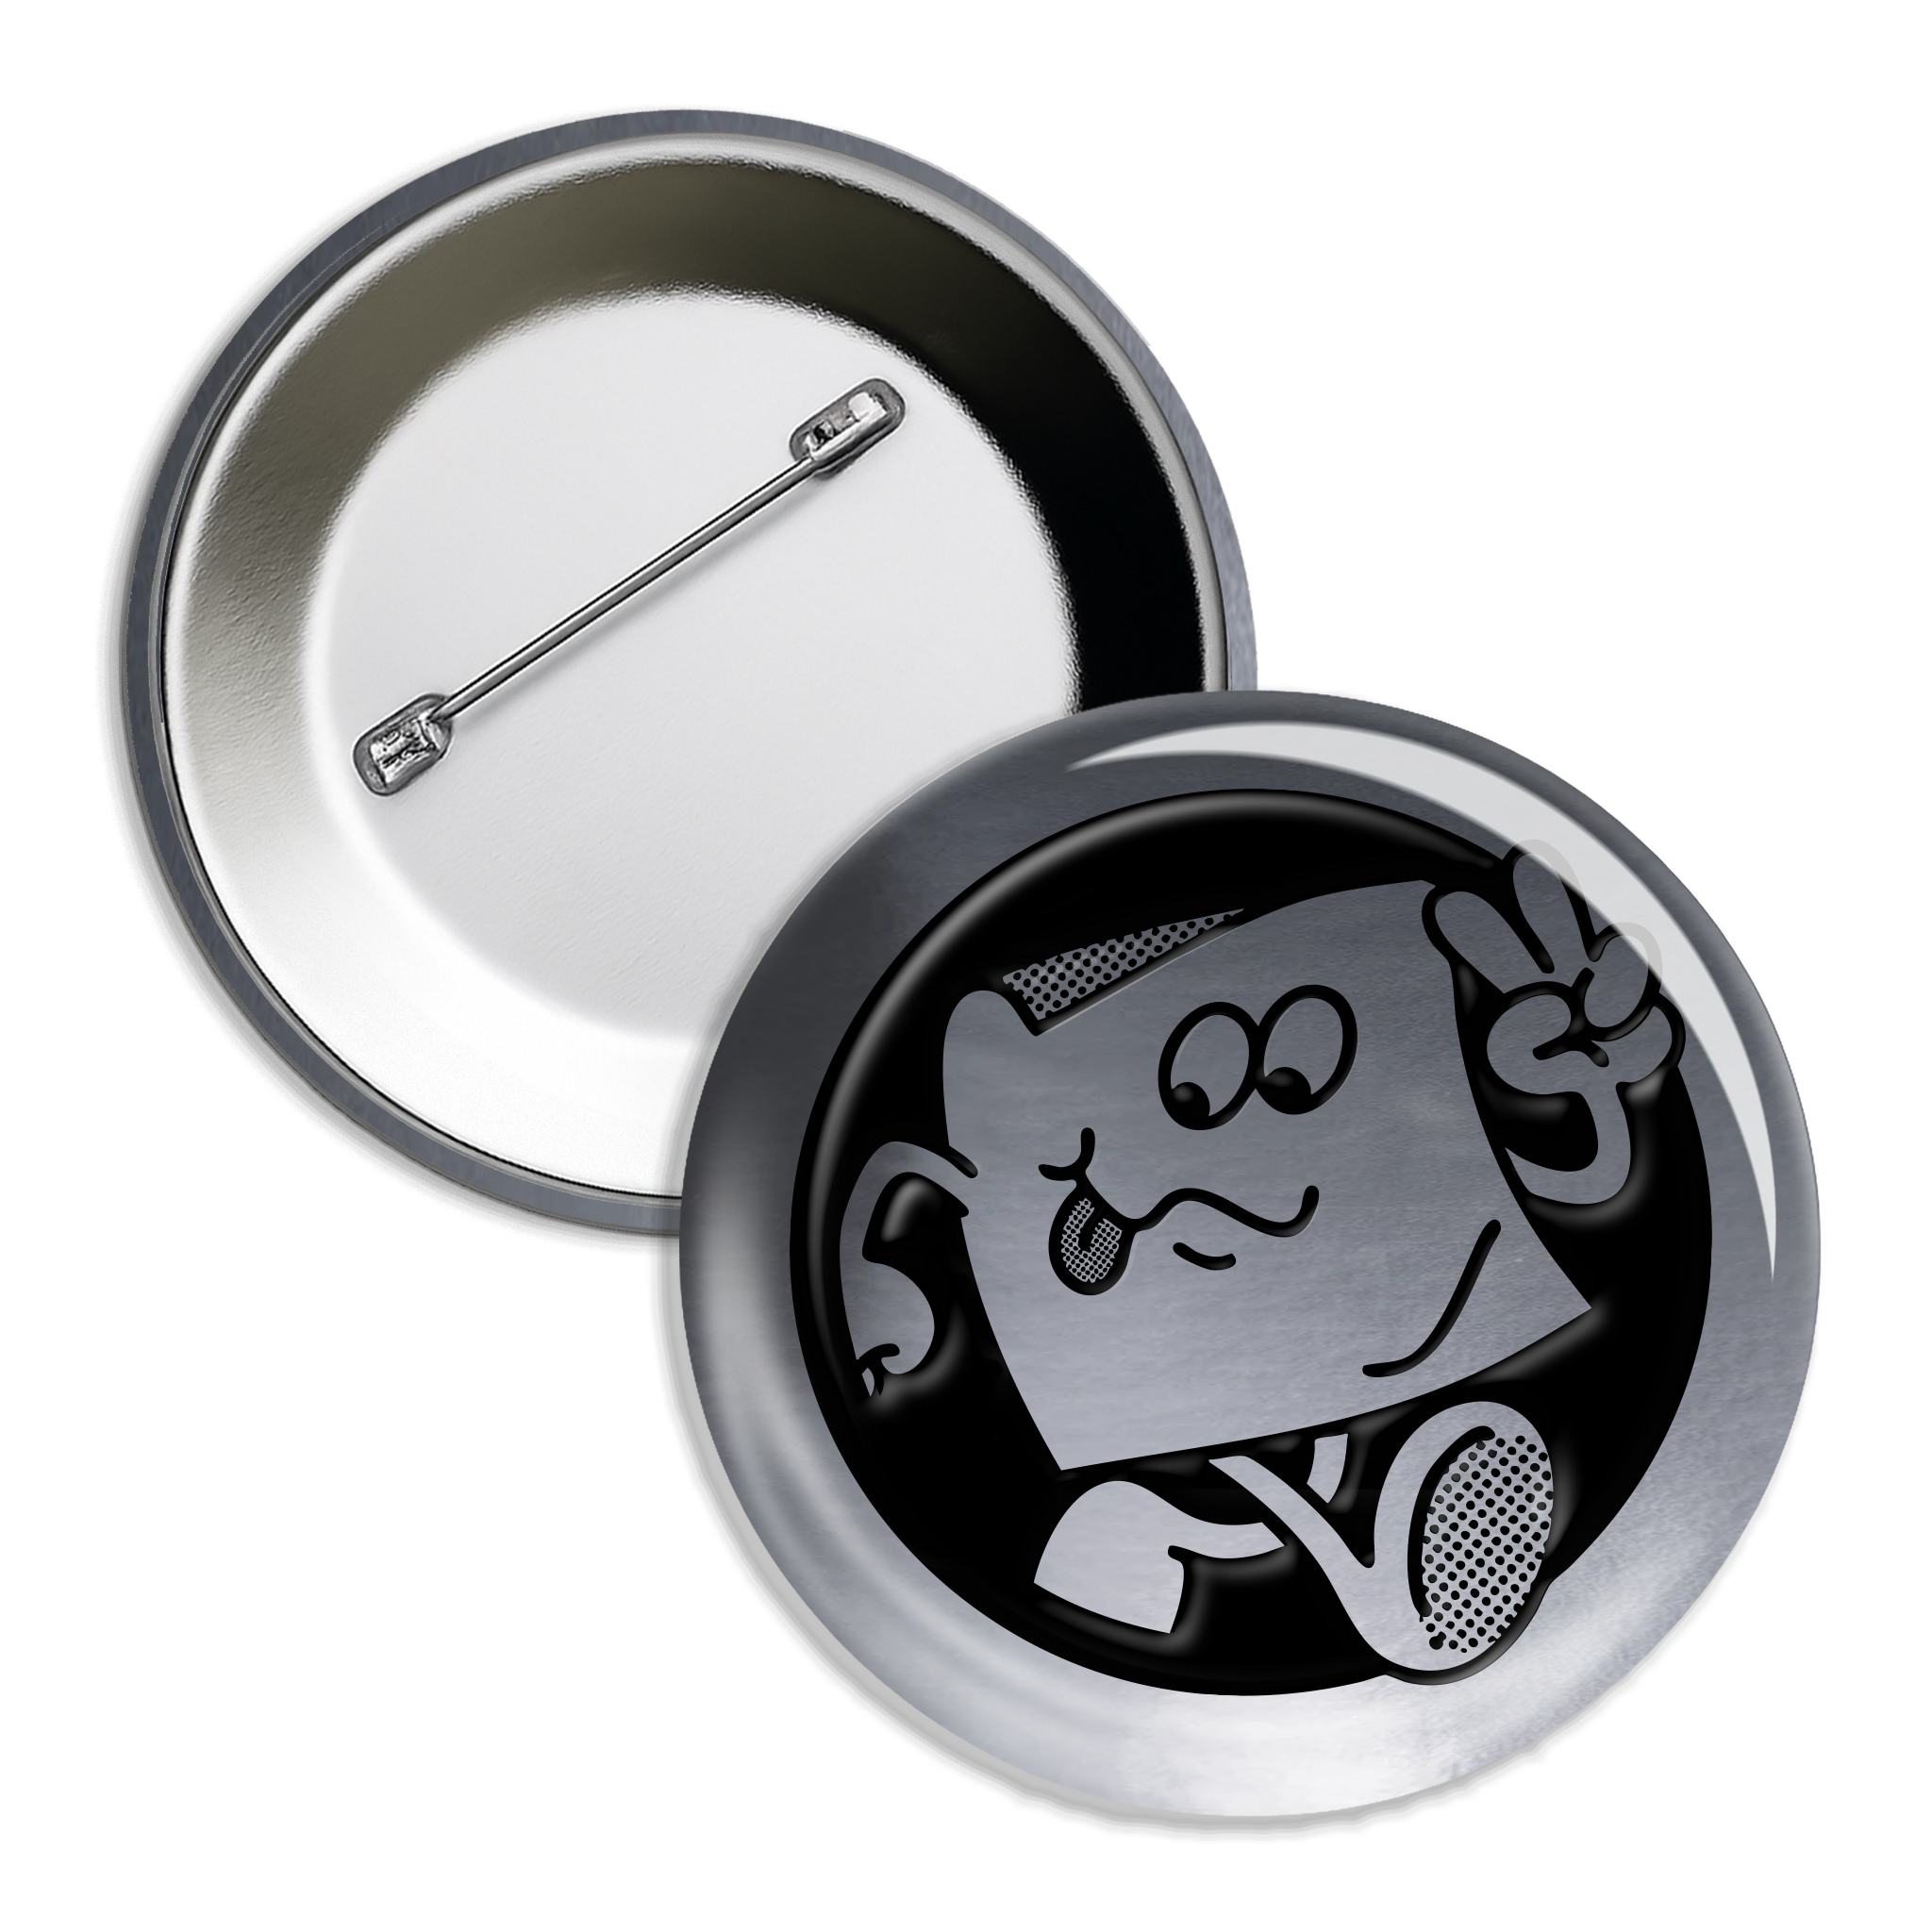
32mm Chrome Badges
Simply pick the quantity of badges you'd like and upload your artwork. It's that easy...
Artwork check list
Preparing Your Artwork for Badge Printing
Want your badges to come out looking proper? Here’s what we need from you when you send over your artwork:
1. Size it right
Set your file to the exact finished size of your sticker (e.g. 3.2cm x 3.2cm).
2. Resolution
Go with 300 DPI. Anything lower will look soft or pixelated once printed.
3. Colour mode
Work in CMYK. RGB is for screens, not print, so colours won’t match properly otherwise.
4. Bleed
Add at least 3mm bleed on all sides. This stops any unwanted white edges after trimming.
5. Safe zone
Keep text, logos and anything important at least 3mm inside the cut line, so nothing gets chopped off.
6. Fonts
Convert all text to outlines/curves. That way we don’t need your font files.
7. File formats
We accept:
Vector files (AI, PDF, EPS) – best for logos and graphics
High-res raster files (PSD, TIFF, JPEG, PNG with transparency) – good for photos or detailed designs
8. Double check before sending
Make sure:
- Spelling is correct
- Colours are in CMYK
- Images still look sharp when zoomed in
9. Sending files
Send us a PDF, AI, or EPS with fonts outlined and layers intact. For simpler shapes, a high-res PNG works too.
Good to know:
Each order includes up to 5 different artworks as standard. If you need more than that, you’ll need to place an extra order.
White layer setup
Want your colours to come out solid and bold? Add a white base under those parts of the design.
Want the material to show through for a transparent or shiny effect? Leave the white layer off and the ink will print straight onto the sticker material.
Think of the white layer as a base coat. Add it where you need opacity, skip it where you want the effect to shine through.
1. Decide on the finish
- Solid and opaque = add white.
- Transparent/effect showing = no white.
2. Create a new layer
- Call it “White Layer”.
- Put it just below your artwork layer.
3. Mark the areas
- Fill the shapes where you want white with a solid colour.
- Set it as a spot colour named “White.”
4. Check it over
- With white = bold, opaque colour.
- Without white = see-through or material showing.
5. Save and send
- Export with the white layer intact (AI, PDF, or EPS recommended).
Turnaround and delivery
Standard turnaround:
3 to 5 working days from when I receive your final artwork.
Working to a deadline?
Email me at Jay@tackyandupsetting.com before placing your order. That way I can confirm if it’s doable and avoid any mix-ups.
Need a specific delivery estimate?
Just get in touch, I’ll always do my best to work to your timeline.
What are 32mm Chrome Badges?
Custom 32mm Chrome Badges hit the sweet spot, bold enough to stand out but still comfortable to wear every day. Printed in full colour on a metallic silver base, they have a sleek mirror-like shine that gives your artwork a polished, professional edge. Each badge is lightweight, durable and finished with a secure pin back that clips neatly onto jackets, hats or bags. Great for bands, brands, events or giveaways, 32mm chrome badges make your design shine without overdoing it.
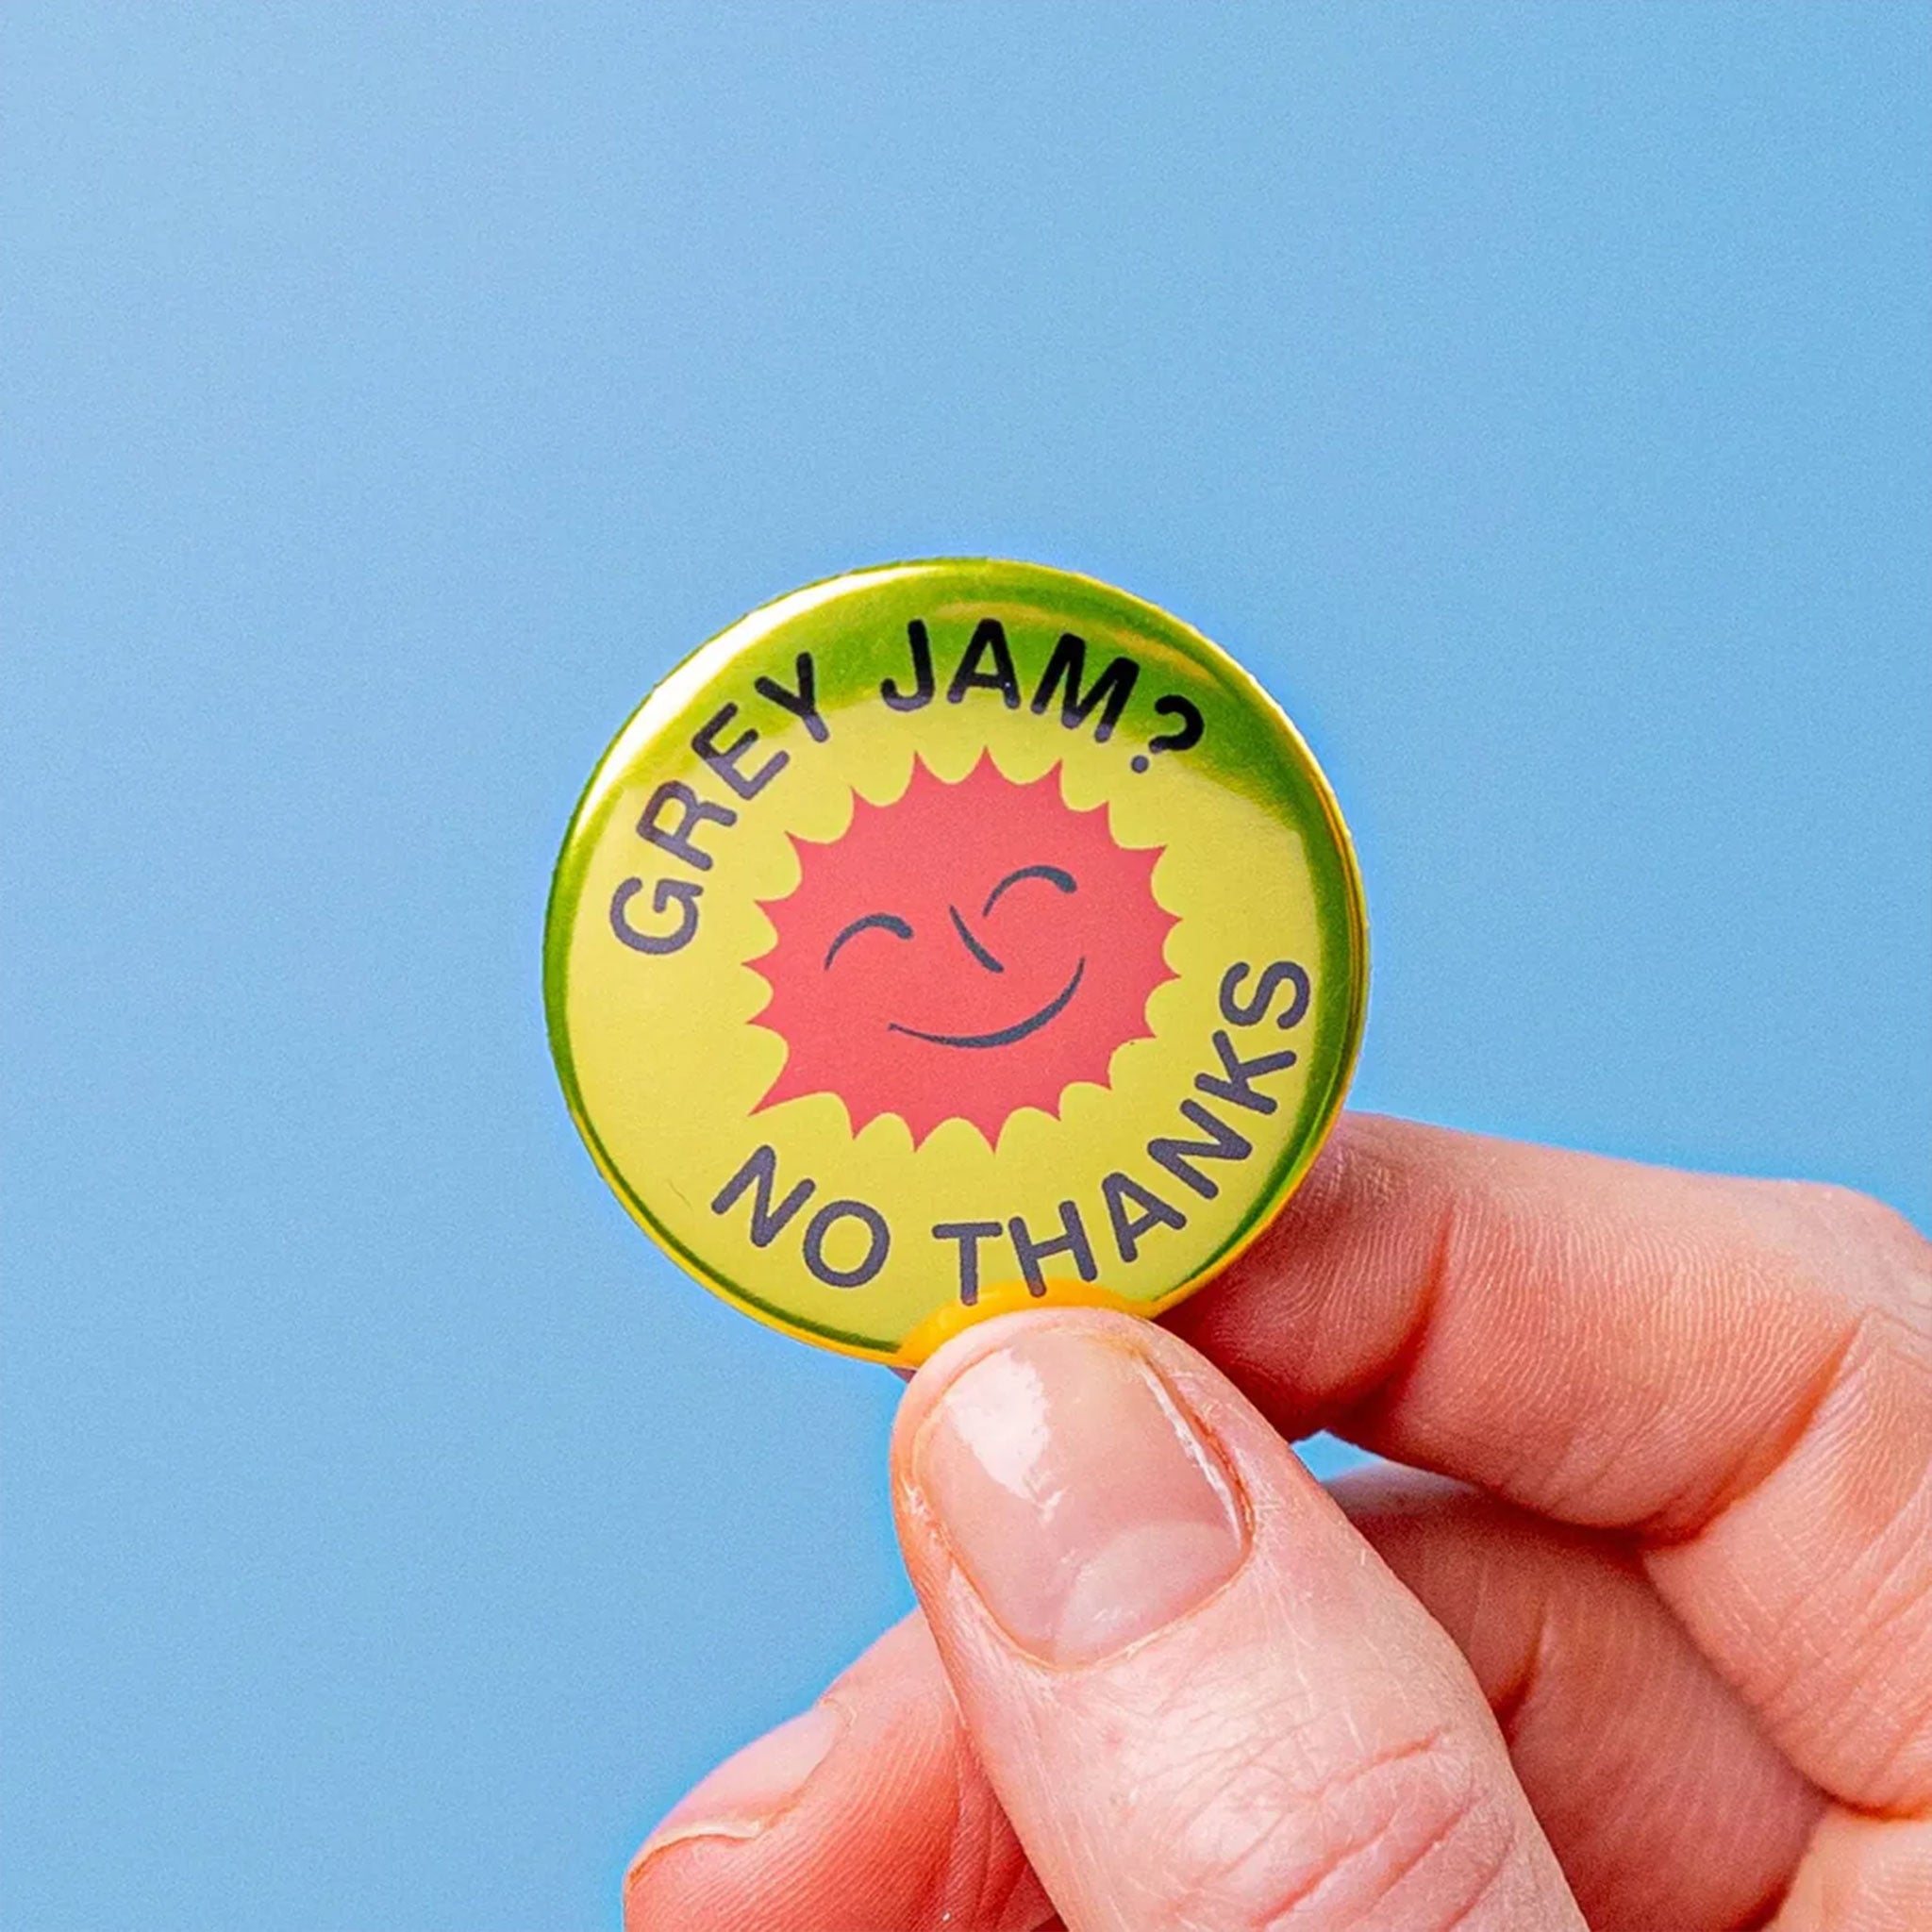
How big are 32mm Chrome Badges?
They’re roughly the size of a 2p coin, a perfect middle ground between subtle and bold.
Can I print my own design on Chrome Badges?
Yes. Upload your artwork when ordering and we’ll print it in full colour on the chrome base.
What makes Chrome Badges unique?
The metallic silver base reflects light, giving your design a polished mirror-like effect.
Can I print full-colour designs on Chrome Badges?
Yes, we print in full colour, and the chrome surface enhances the artwork with a metallic look.
How do I attach 32mm Chrome Badges?
Each badge comes with a sturdy metal pin back that easily clips to clothes, hats or bags.
What are 32mm Chrome Badges used for?
They’re great for branding, events, merch, giveaways or personal collections.